

Jump to a section
- 1. What Gets Welded in a Switchgear Enclosure
- 2. Why Switch from Spot and MIG to Laser
- 3. Joint Design for Laser-Welded Cabinets
- 4. Galvanized and Coated Steel
- 5. Process Settings on Fillet and Corner Seams
- 6. Cell Layout and Fixtures
- 7. Circuit Breaker Components: a Different Job
- 8. Does a Robotic Laser Cell Pay Back?
- 9. How to Run a Useful Trial
- 10. Frequently Asked Questions
- Request a Proposal
Quick answer:
- Typical job: switchgear cabinets are built from thin carbon or zinc-coated steel sheet, typically a bent main panel plus side or end plates, joined with fillet and corner seams.
- Why laser: lower heat input means less distortion and little or no post-weld grinding or straightening, so cabinets look better and move to coating faster than with spot welding plus MIG seams.
- What decides success: accurate cutting and bending, consistent seam gaps, self-locating joint features and a fixture that clamps without blocking the laser head.
- Typical cell: a six-axis robot, a two-station rotating positioner, a laser source and a laser-safe enclosure, so the operator loads one station while the robot welds the other.
| Spot weld + manual MIG seams | Robotic laser welding | |
|---|---|---|
| Heat input and distortion | Higher; panels often need straightening | Lower; little corrective work |
| Post-weld grinding | Usually required on visible seams | Often eliminated |
| Seam appearance | Depends on the welder | Repeatable, program-controlled |
| Fit-up requirement | Tolerant of larger gaps | Needs tight, consistent gaps |
| Investment | Low per station | Higher; pays back on repeated assemblies |
Scroll horizontally to view all columns on smaller screens
This guide uses published industry sources and an illustrative payback calculation with stated assumptions. It is not a CHENDA test report or quotation.
Considering laser welding for your cabinets? Send CHENDA the assembly drawing or 3D model, material and thickness, and your daily output. We will review joint design and propose a cell layout and trial. Request a Robotic Laser Welding Review · Email info@chendalaser.com · Phone +86 153 0644 7102
1. What Gets Welded in a Switchgear Enclosure
A typical switchgear or distribution cabinet body is thin carbon or zinc-coated steel sheet; thickness varies by manufacturer, rating and design. A common construction is a bent main panel plus side or end plates, together with frames, mounting plates, doors and reinforcements.
The traditional route is to tack the parts with spot welds and then run continuous seam welds, followed by grinding and straightening before painting or powder coating.
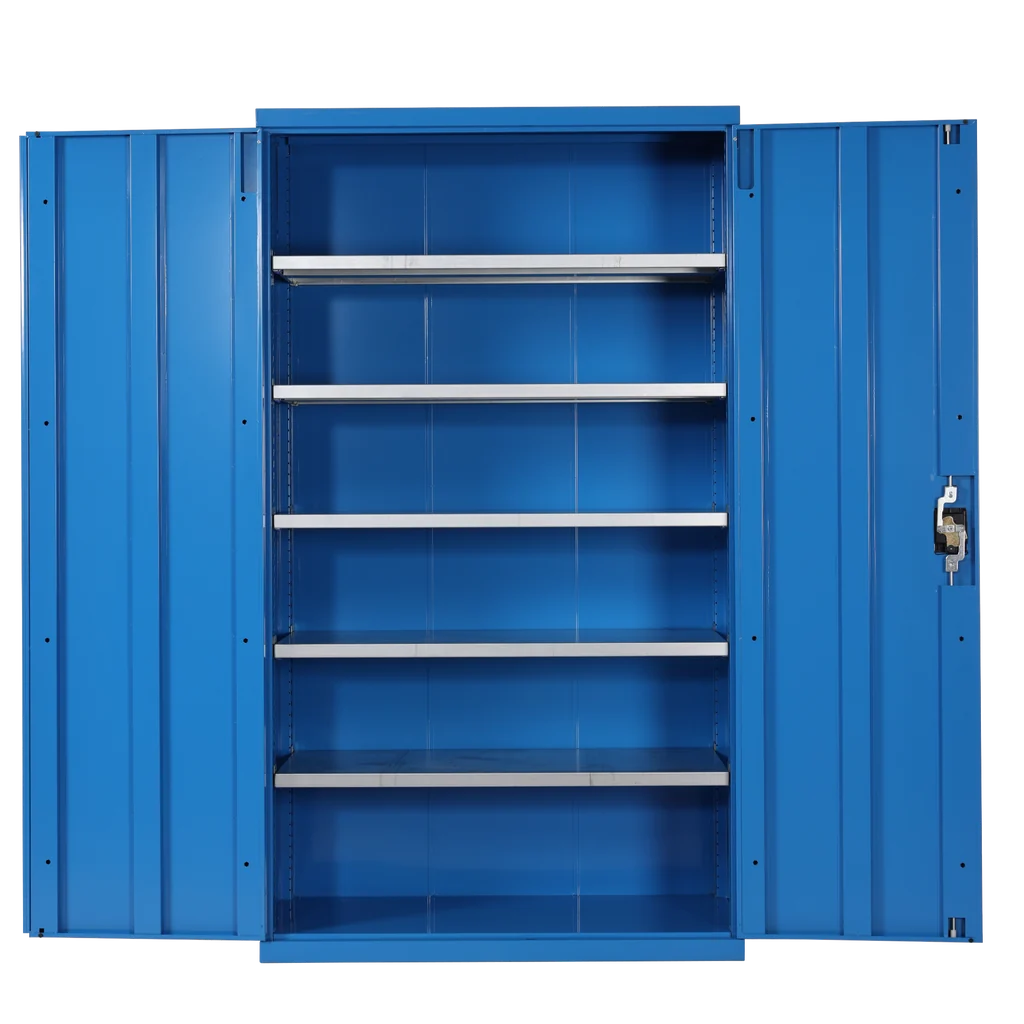
Why the seams matter beyond appearance. Finished switchgear is type-tested as an assembly. For example, IEC 62271-200 internal arc classification checks, among other criteria, that doors and covers stay closed, that no holes appear in accessible sides up to 2 m, and that the enclosure remains connected to its earthing system. Enclosure degree of protection is tested to the IP code. Welding does not certify a cabinet, but dimensional accuracy and seam continuity directly support these tests and door and cover fit.
2. Why Switch from Spot and MIG Welding to Laser
- Less distortion. Laser welding puts less heat into the part, so thin panels distort less and usually need no corrective work afterward.
- Less grinding. Laser fillet and corner seams on cabinet bodies can often go to coating without post-weld grinding, which also improves appearance.
- Repeatable seams. A taught program produces the same seam on every cabinet, independent of operator skill on the shift.
- Fewer processes. With accurate parts and self-locating features, spot tacking and separate seam welding can sometimes be combined into one laser operation.
- Sealed seams are possible on suitable joints, which matters for outdoor and gas-tight enclosures.
Research evidence. A 2024 study in Laser Journal on sealing welds for gas-insulated switchgear (GIS) tanks found that laser welding with a dedicated automatic fixture reduced deformation compared with TIG welding, and helium mass-spectrometer leak testing found no leakage.
The trade-off is fit-up. Laser welding tolerates far smaller gaps than MIG. If cut and bent parts vary, the cell will reject or produce poor seams. Projects that succeed usually improve upstream laser cutting and press brake accuracy at the same time.
For a side-by-side comparison of the processes on thin sheet, read Handheld Laser Welding vs TIG and MIG.
3. Joint Design for Laser-Welded Cabinets
Cabinet bodies are mostly joined with fillet and corner joints between the bent panel and the end plates. Practical design rules:
- Add positioning features. Grooves, tabs and slots cut on the laser make the bent panel and end plates self-locating, so the seam returns to the same place on every cabinet.
- Control the gap. Seam gaps must stay small and consistent; a gap that is too large reduces weld strength and quality.
- Design for head access. The laser head and any wire nozzle must reach every seam at the required angle without hitting clamps or flanges.
- Plan the weld sequence. Closing the box can remove access to the last corner. Preserve the gap until the final seam rather than relying on the first welds to pull the rest into position.
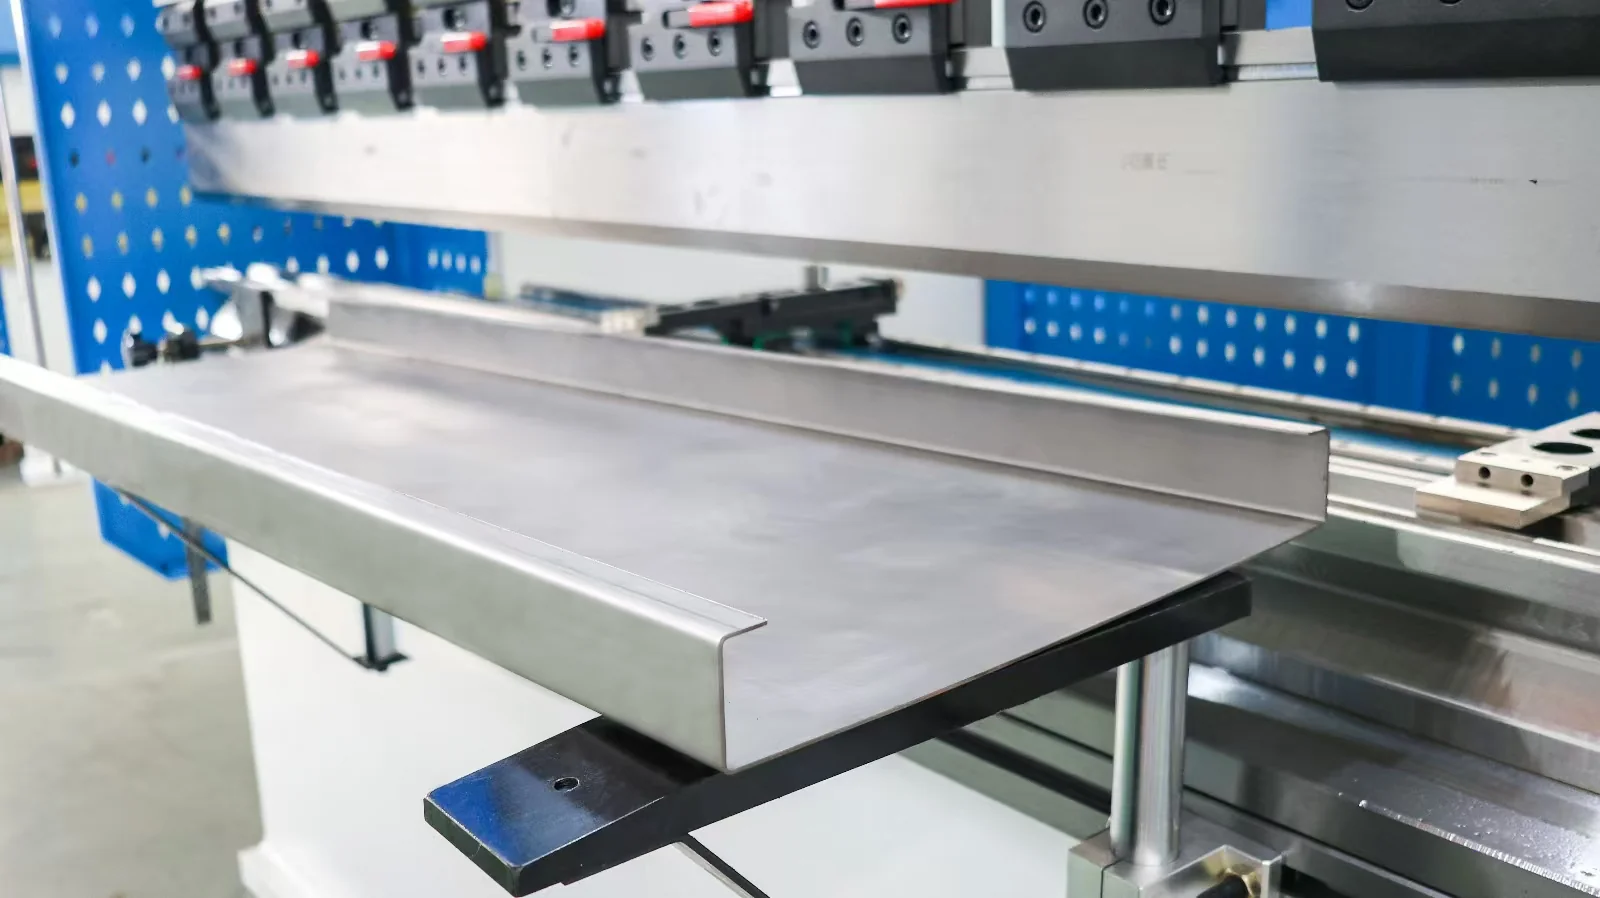
Where bending tolerances cannot be avoided, filler wire can bridge part of the variation. Adding wire, however, adds an approach direction the robot must maintain on every face.
4. Galvanized and Coated Steel
Many enclosures use galvanized or other zinc-coated steel. Zinc boils at a lower temperature than steel melts, and in a lap joint the zinc vapor trapped between the sheets has to escape through the molten pool. Research published by Nippon Steel estimates that the vapor occupies roughly 2,400 times the volume of the liquid zinc, which causes spatter and porosity.
| Lap-joint condition (published study) | Result |
|---|---|
| Zero gap between zinc-coated sheets | Spatter and porosity from trapped zinc vapor |
| Gap above about 0.02 mm | Spatter dropped sharply and joint strength rose |
| Up to about 0.04 mm | Sound beads with ordinary welding conditions |
| Up to about 0.1 mm | Sound beads with increased heat input |
Scroll horizontally to view all columns on smaller screens
These values come from one study and depend on coating, thickness and welding conditions. Corner and fillet joints, where the vapor can escape sideways, are generally less sensitive than tight lap joints. Test the exact coated material you buy.
5. Process Settings That Matter on Fillet and Corner Seams
- Focus and incidence angle. Fillet welding needs strict control of focus distance and the angle of the beam to the joint. Establish the best angle for your joint in the trial and lock it into the program.
- Spot size. A self-fusing fillet needs a spot large enough to cover both plates, which usually means working defocused. A longer focal-length head reaches the same spot size with the protective window farther from spatter.
- Shielding gas. Gas delivery must cover the seam when the head is defocused and tilted.
- Beam oscillation (wobble). Where supported, oscillation widens the melt pool and helps tolerate small gap variation.
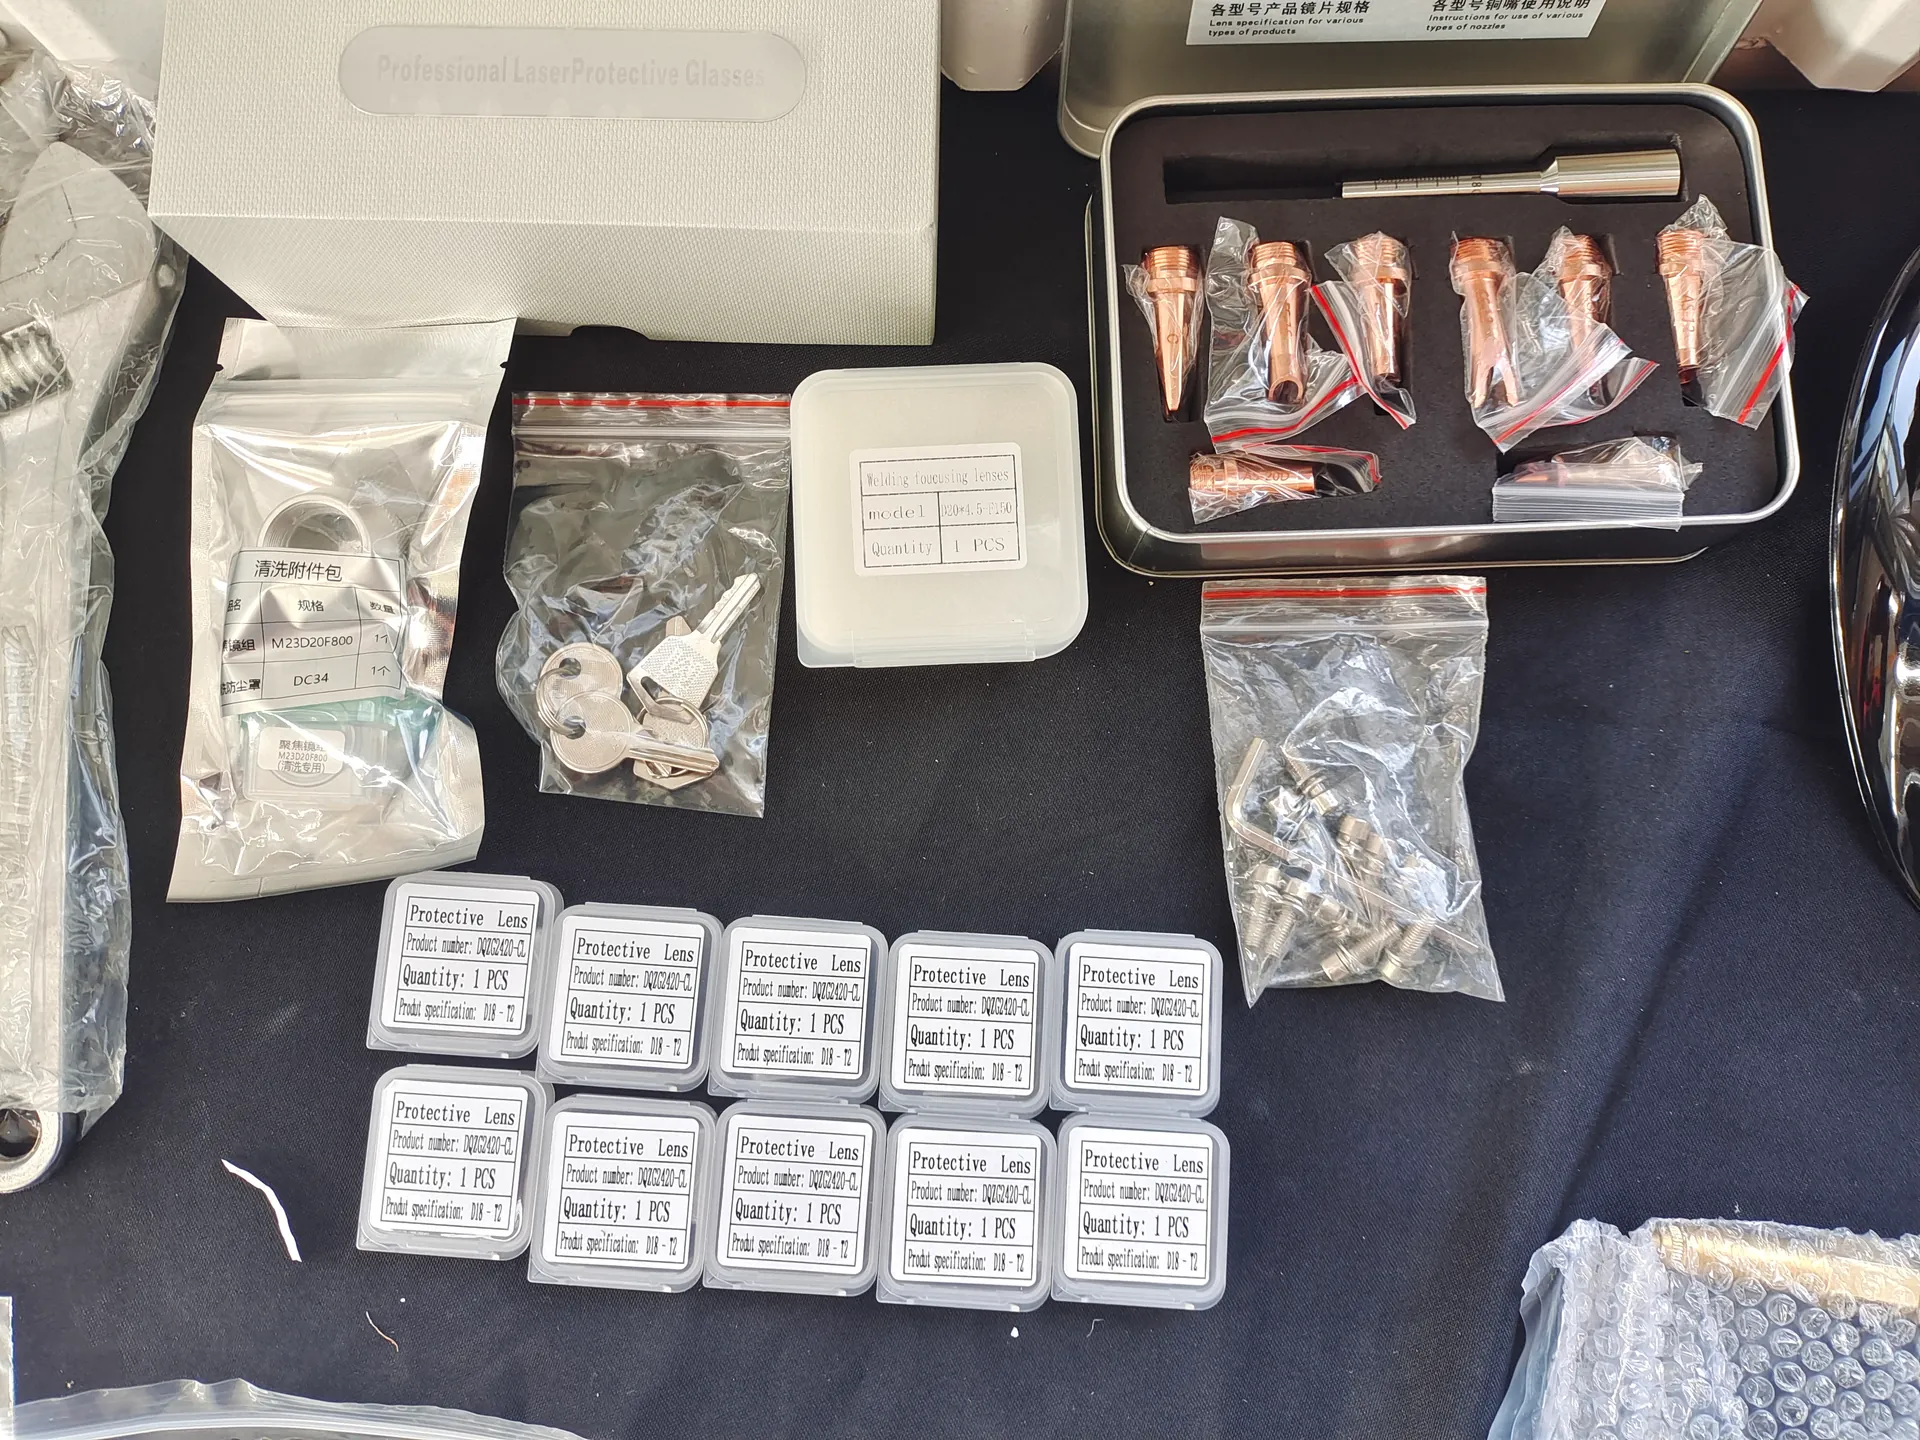
- Optics and cooling. Contaminated protective windows or unstable cooling change the weld even when the robot program has not changed.
6. Cell Layout and Fixtures
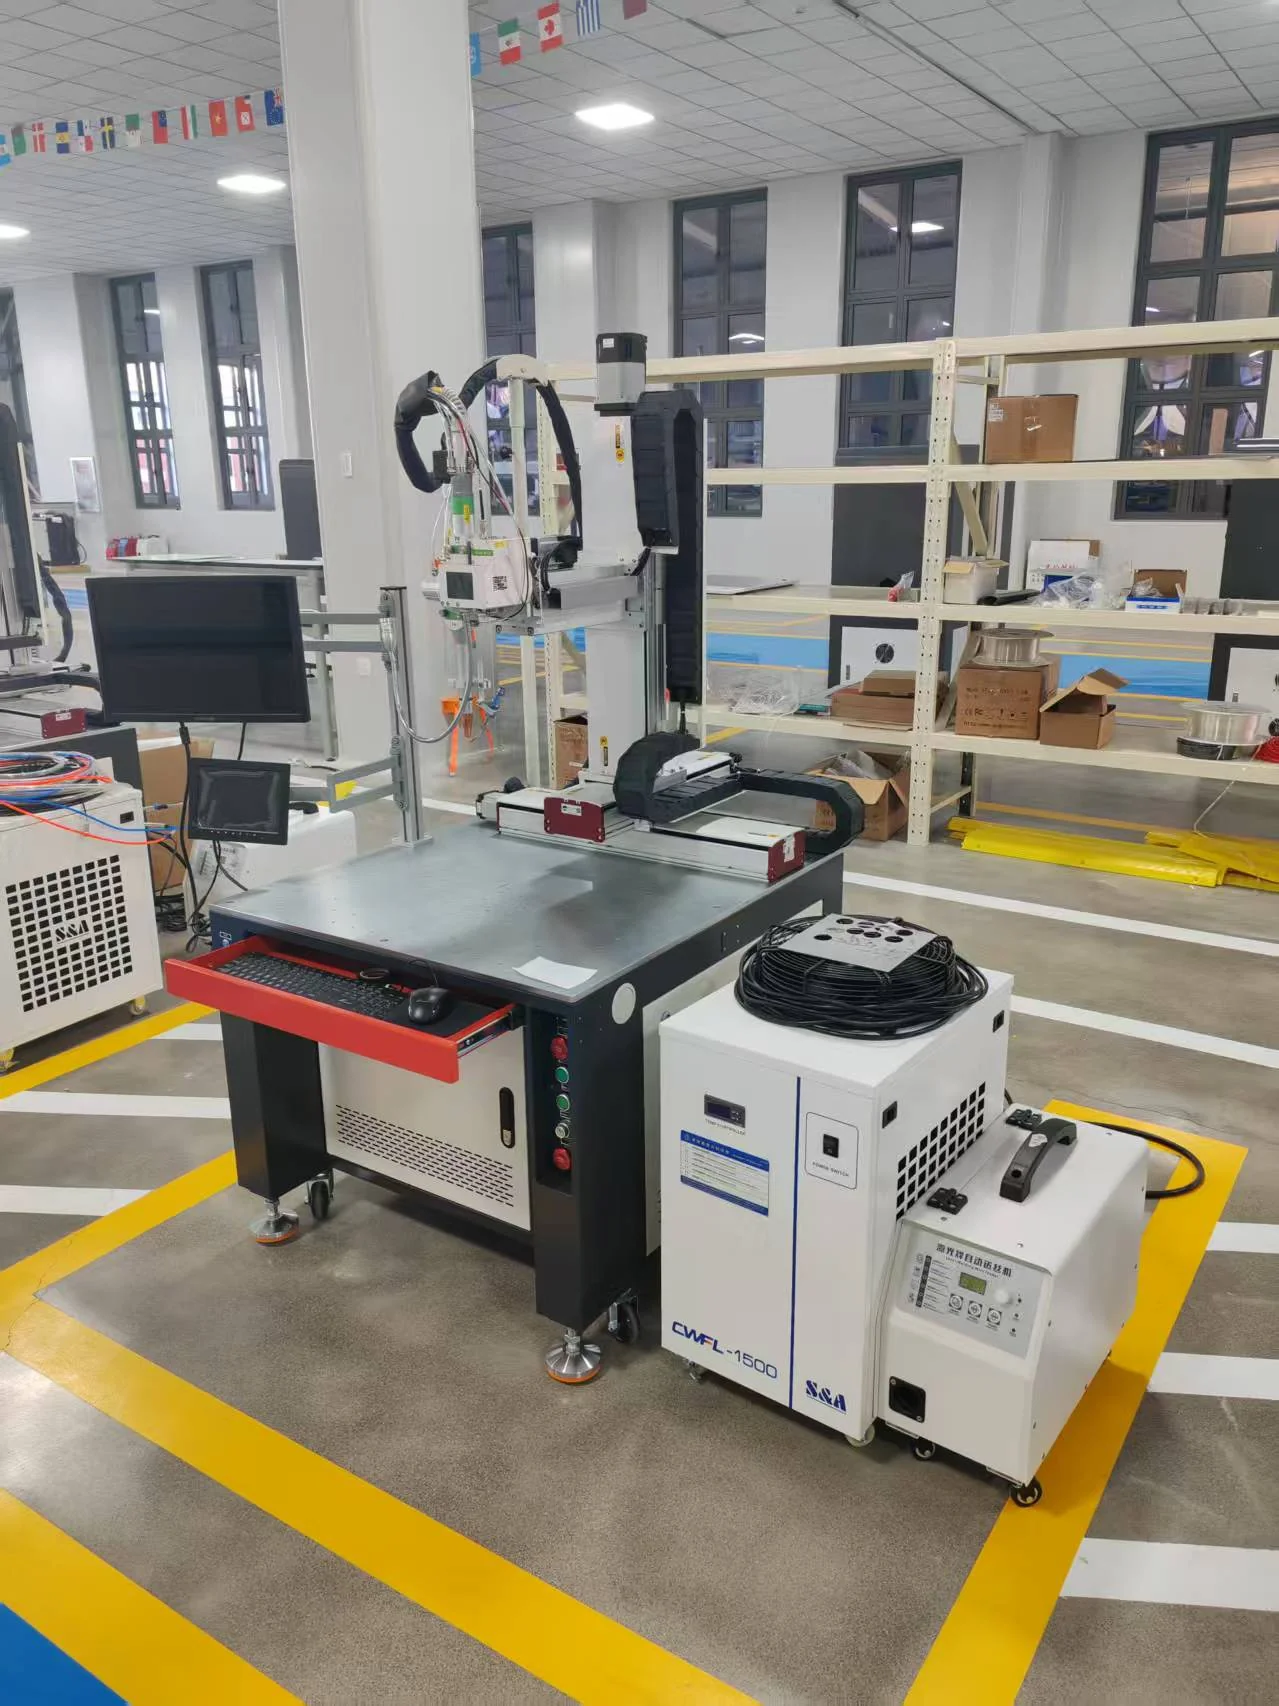
A common layout for cabinet welding is a dual-station robotic laser cell: a six-axis robot, a two-station rotating positioner, the laser source and a protective cabin. The operator unloads and loads one station while the robot welds the other, which keeps the laser busy.
| Component | What to check |
|---|---|
| Robot | Reach to every seam with the head at the required angle; payload for head, wire feeder and cables |
| Positioner | Part size and mass; whether rotation gives access to all faces without re-clamping |
| Laser source and head | Power, focal length, wobble capability, wire-feed compatibility |
| Fixtures | Internal support, external pressing, clearance for the head, quick changeover between cabinet sizes |
| Laser-safe enclosure | Protection against direct and reflected radiation, interlocked doors, viewing windows |
| Fume extraction | Capture at the cell, especially on coated steel |
Scroll horizontally to view all columns on smaller screens
Fixture design is where most projects are won or lost. Large panels need intermediate supports and rigid clamping so the seam gap stays consistent. Automatic fixtures can combine internal support, part avoidance and external pressing, and adjust for different cabinet sizes. Separate spot-welding fixtures can help control gaps but add a step that limits throughput in high-volume production.
7. Circuit Breaker Components: a Different Job
Laser welding inside circuit breakers and switches, such as small contact and terminal assemblies, is a different application from welding the enclosure. The parts are small, often copper or copper alloys, and are typically presented to a fixed laser head on a precision workstation rather than a large robot.
If your project covers both, treat them as two separate equipment decisions: a platform or automatic laser welding workstation for small components, and a robotic laser welding cell for cabinets and frames.
8. Does a Robotic Laser Cell Pay Back? A Worked Example
Illustrative assumptions (replace them with your own figures):
- 20 cabinets per day, 250 working days a year
- Current route: 25 min welding plus 20 min grinding and straightening per cabinet = 45 labor minutes
- Robotic laser route: 8 min loading and unloading plus 2 min touch-up per cabinet = 10 labor minutes
- Fully loaded labor cost: US$15 per hour (low-cost region) or US$30 per hour (higher-cost region)
| US$15 / h | US$30 / h | |
|---|---|---|
| Labor saved per cabinet (35 min) | US$8.75 | US$17.50 |
| Cabinets per year | 5,000 | 5,000 |
| Labor saving per year | US$43,750 | US$87,500 |
| Simple payback per US$100,000 of cell cost | about 2.3 years | about 1.1 years |
Scroll horizontally to view all columns on smaller screens
This calculation counts labor only. It leaves out savings from less rework, less filler wire and less coating repair, and costs such as fixtures, programming, shielding gas, consumables and possibly better upstream cutting and bending. The labor minutes in your plant decide the result, so measure them before you compare quotes.
9. How to Run a Useful Welding Trial
- Send a representative assembly made from your production cutting and bending, not hand-fitted parts.
- Include the least accessible seam and a visible seam on the same assembly.
- Weld in a realistic fixture and include the transitions between seams and faces.
- Inspect the cooled, unclamped cabinet: dimensions, door and cover fit, seam continuity and appearance after coating.
- Where sealing matters, agree a leak or ingress test rather than judging the outside of the bead.
- Repeat with normal production variation, then calculate the cycle time per accepted cabinet, including loading.
Explore CHENDA Robotic Welding Systems, compare with robotic MIG/MAG welding for heavier frames, or see the full metal cabinet production workflow. Accurate blanks start with sheet metal laser cutting and CNC press brake bending.
10. Frequently Asked Questions
Can laser welding replace MIG welding on switchgear cabinets?
On thin-sheet cabinet bodies with accurate, consistent fit-up, yes in many cases. Laser welding reduces distortion and grinding. Heavier frames, wide gaps or poor part accuracy may still suit MIG/MAG welding.
Is laser welding suitable for gas-tight switchgear tanks?
It can be. Published research on gas-insulated switchgear tanks reported lower deformation than TIG welding and no leakage in helium leak testing, using a dedicated fixture and tested parameters. Each design still needs its own qualification.
Does laser welding eliminate grinding?
On suitable fillet and corner seams it often does, because the seam is narrow and distortion is low. Visible seams should still be checked after coating against an approved sample.
Can galvanized steel be laser welded?
Yes, but zinc vapor can cause spatter and porosity, especially in tight lap joints. A small controlled gap, suitable joint design and tested parameters reduce the problem. Fume extraction is essential.
What gap can laser welding tolerate?
Much less than MIG welding. The exact value depends on thickness, joint type, spot size, beam oscillation and whether filler wire is used. Establish it in a trial with your own parts.
Do I need a positioner?
A two-station rotating positioner is common for cabinet welding because the operator loads one side while the robot welds the other, and rotation improves access to different faces.
Does laser welding certify the enclosure for IP or internal arc tests?
No. Those are type tests on the finished switchgear assembly. Good welding supports them through accurate dimensions and continuous seams, but the design must still be tested.
Sources
- Laser Journal (2024) — Study on laser welding technology of gas insulated switchgear
- Nippon Steel Technical Report — Laser lap welding of zinc-coated steel
- IEC 62271-200 guide — internal arc classification and type tests
Figures are taken from the published sources above or from the stated example assumptions. They are not CHENDA machine test results or prices.
Request a Robotic Laser Welding Proposal from CHENDA
Send us:
- Assembly drawing or 3D model with a seam map
- Material (carbon steel, galvanized, stainless) and thicknesses
- Visible seams, sealing requirements and the coating that follows
- Range of cabinet sizes and daily output
- Your current welding and grinding time per cabinet, if known
We will review joint design, propose a cell and fixture concept, and plan a welding trial.
Get a Robotic Laser Welding Quote · Email info@chendalaser.com · Phone +86 153 0644 7102